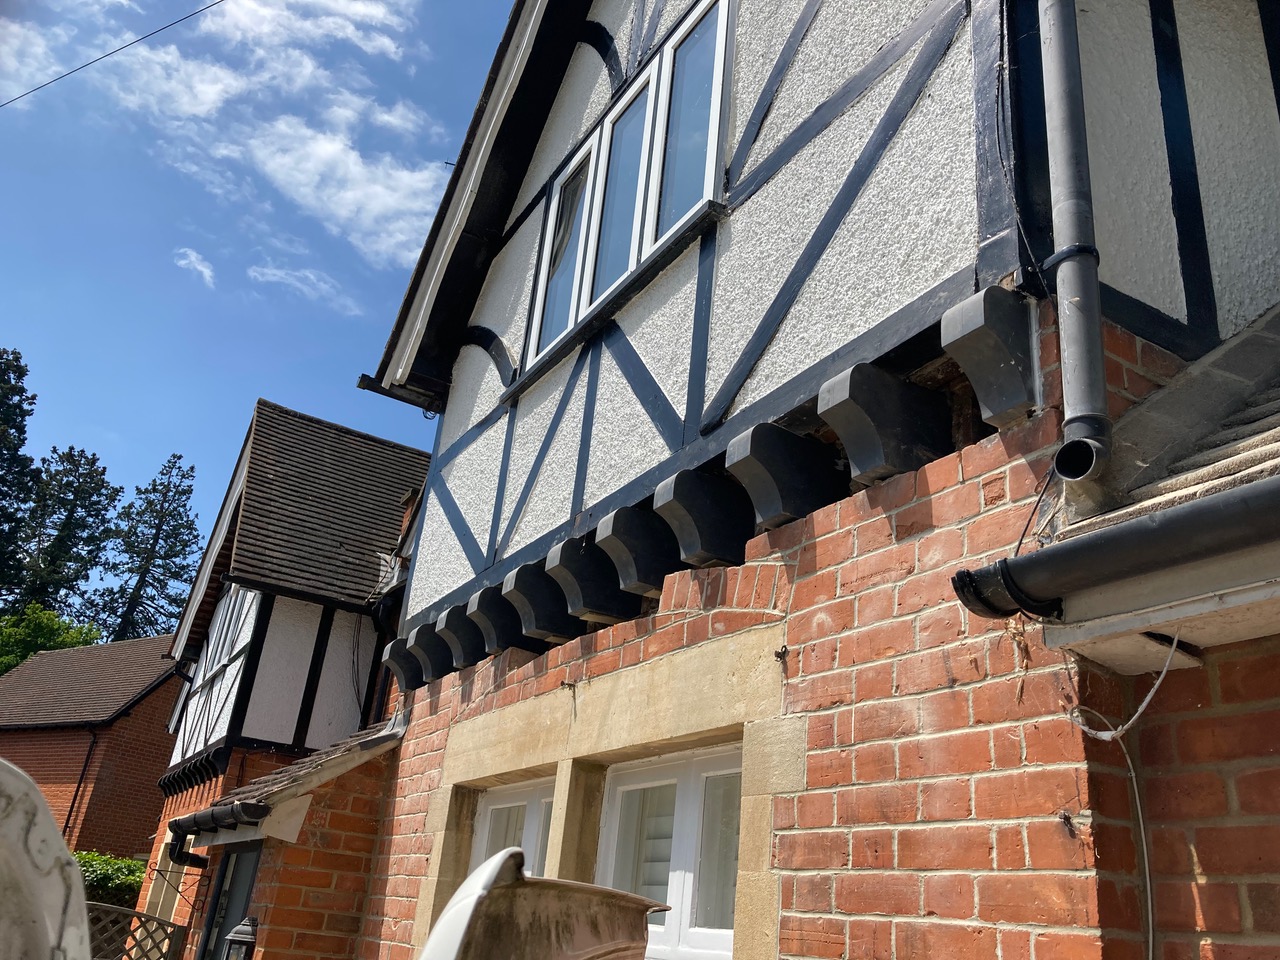
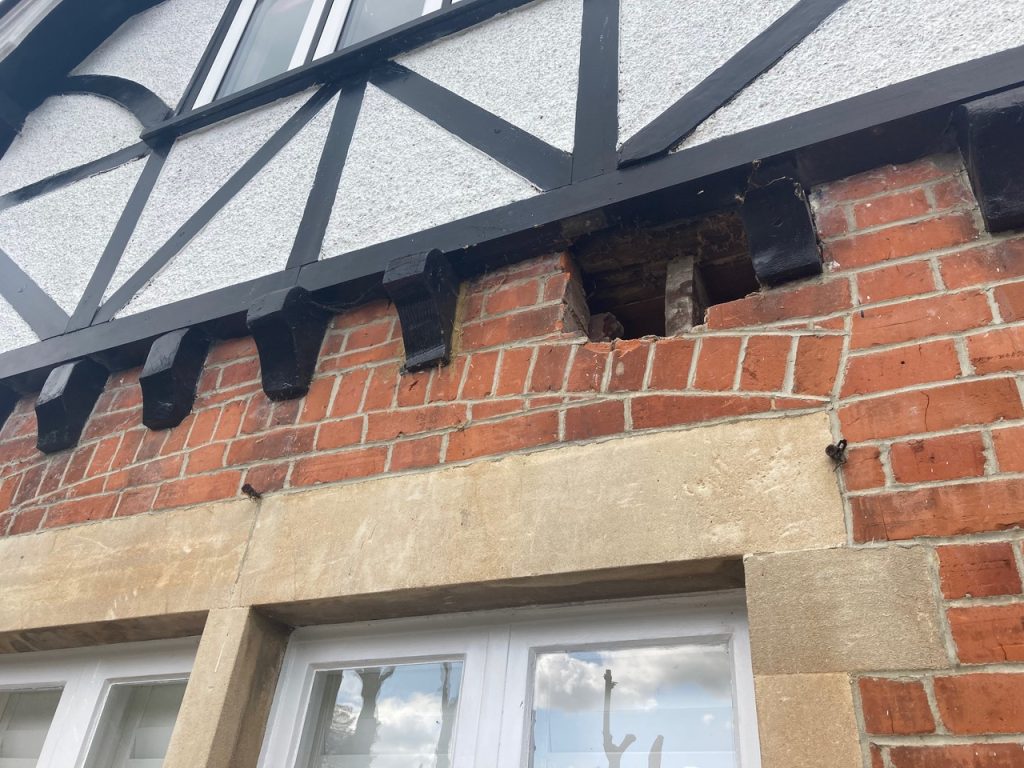
These 11 exposed joist ends or jetty joists, were in various states of repair. Some had retained their original shape despite rotting on the top face. Others had rotten, been cut back and painted, and then rotten again in the wall!
We took exact measurements of the Eagles Beak shape from the least rotten original and made 11 replacements at 24x9x4 inches. Once the beaks were formed, we had each one pressure treated. It’s important to put the timber through treatment after cutting and shaping because we want the pressure treatment to penetrate as deeply into the surface of the timber as possible, ensuring the longest possible timber life. Lastly, we applied a few coats of highly breathable, long life paint which will allow the exposed joist ends to dry out when they and the surrounding bricks inevitably get rained on.

It was time to head back onto site to fit them. Temporarily supporting the floor and ceiling was the first job. We could then remove the brickwork around the joist ends. Each new jetty joist was fixed internally to the existing noggins (or dwangs). We then placed wedges cut from kiln dried timber onto the brickwork under each beak. As the dry wedge slowly absorbs moisture from the air, it slightly expands, creating the critical fulcrum which enables the beaks to transfer the load from the gable above. This is much the same principle as a traditional draw-bored mortise and tenon used in a green timber frame. Observing these processes means we can continue to maintain the timber in our heritage buildings long into the future.

With the carpentry work complete, we handed the job over to a gang of master bricklayers to repair and repoint the brickwork.
Leave a Reply